Van Window Fitting
Camper Glass Guide for T5 and T6
While it is possible to use other tools to cut out your windows, we have designed this van window fitting guide to work best with the tools we think you are most likely to already have at home which is more than likely a basic grinder.
You can use nibblers, or shears, these definitely give a cleaner cut with less mess.
To protect your van interior, remove as much as you can and cover anything that needs to stay inside.
Grinding sparks can damage carpet, fabric and windows. For that reason, where possible cover these up.
1, We recommend that you protect your van with masking tape and polythene sheeting.

2, Drill pilot holes around the inner panel line.

3, With a straight edge draw a line across the centre strut.

4, Cut through the strut with a small grinder.
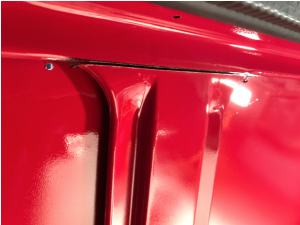
5, On the outside of the van, join the drill holes together with marker pen and a straight edge

6, Now from the outside of the van, carefully cut the panel out using a small grinder. You should follow the pen line while taking extra care on the corners.
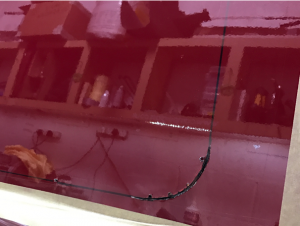
7, Remove the panel carefully. If possible get another person to help you lift it out without damaging the rest of the paintwork.
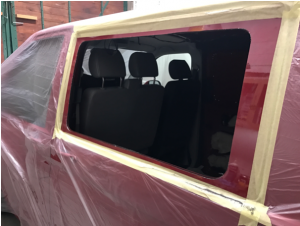
8, Sand the cut edge of the metal to remove any burs.
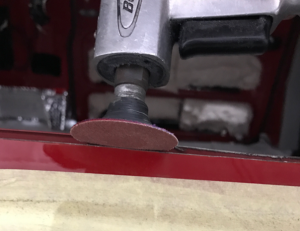
9, Apply a rust inhibitor to the freshly cut metal edge.

10, If required you can add some window bond between the two skins and gently knock the inner skin closer with a rubber mallet. This is optional but you will find it makes it easier to apply the U-Trim if this is done.**Please note if you are carpet lining this panel you may choose not to use U-Trim. You can get a neater finish by carpeting over both skins and pressing the carpet edge down between the outer skin and the window**
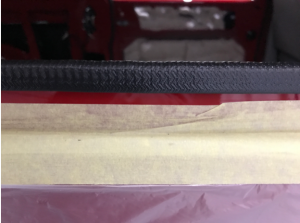
11, IMPORTANT TO FOLLOW THIS PART CAREFULLY TO ENSURE A SAFE BOND IS ACHIEVED
Use the clear glass cleaner or the alcohol wipe included in the fitting kit. Use this to clean the window (the black band round the window)

12, Apply the black primer where the adhesive will be touching the glass (the centre of the black band as pictured below)
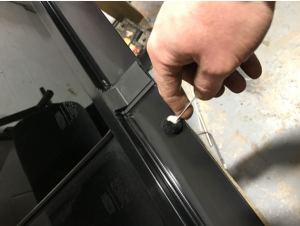
13, Apply the same primer to the bodywork of the van. Make sure it doesn’t run on areas that won’t be covered by the window.
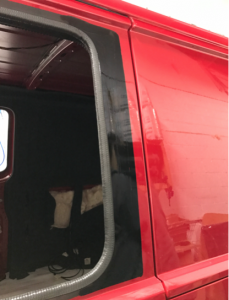
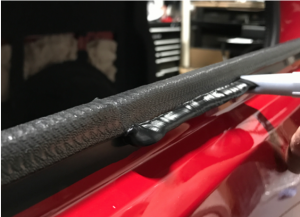
14, Apply the window bond so its stands about 10cm tall from the bodywork. When applying it to the bottom of the window, try and keep it as close as possible to the U-trim (if used). This is so it doesn’t leak out the bottom when the window is pressed on.
15, Offer the window up as level as possible. Try and press the top and bottom on at the same time. You will be able to manoeuvre the glass a little to get it into the exact place. At the same time, try to make sure the gap is the same all the way around.
If you are fitting 2 windows on the same side, fit them both together at the same time. This way you can get them to sit level with each other. The windows can be moved around slightly to get the best fit only whilst the adhesive is set. However, once set the window cannot be moved.
Now tape the window up with masking tape to keep it in place.
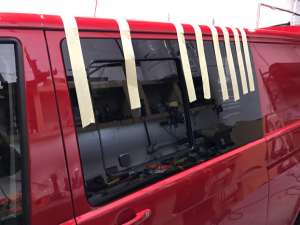
The same principles apply for rear quarter windows, tailgates and barn doors.
PLEASE NOTE: Window fitting should only be undertaken if you feel comfortable to do it and have the correct tools to do so. If you are in any doubt, get a professional to fit them for you.
Camper Glass are not responsible for fitting in any way.

Check out our other van window installation guide that is specific to the Volkswagen Transporter T4.

