
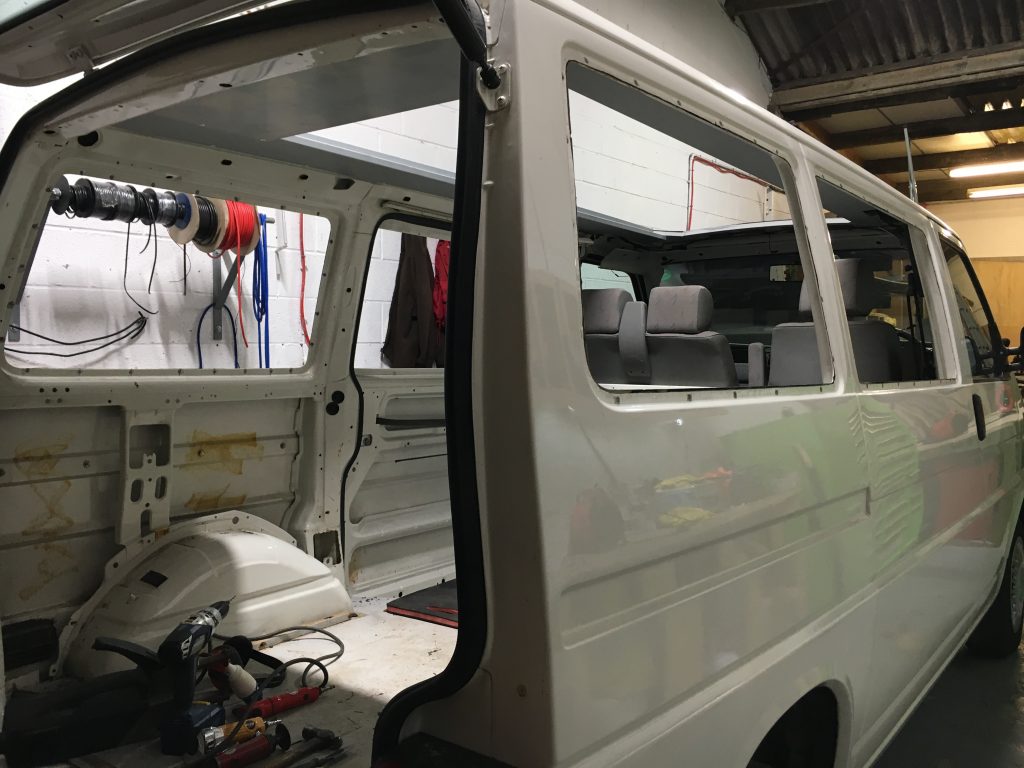
VW T4 Fitting Guidance
T4 window fitting, from checks to finish
Plan your VW T4 window installation with our guide to preparing the panel, fitting the seal and bonding the glass. Read the full sequence alongside the instructions for your exact window and fitting kit before you start.
01 / Get Ready
Check your glass and plan the job
This guide covers the recessed fitting method in our original T4 instructions. Read the complete sequence before cutting, and check the current instructions supplied with your window, seal and adhesive.
-
Step 1: Inspect before fitting
Unpack every window and inspect both faces and all edges in good light. Check for marks or damage before you cut the van or hand the glass to an installer.
-
Step 2: Match the vehicle and position
Confirm the T4 model, wheelbase and window position. Check the glass and seal against the intended opening before preparing the panel.
-
Step 3: Prepare tools and protect the van
Use appropriate eye and hand protection. Protect paintwork and the interior, check behind the panel, and ensure the cutting and fitting tools are suitable.
-
Step 4: Check the fitting products
Confirm the correct cleaner, primer, adhesive and seal. Follow their preparation, working-time and curing instructions, including temperature and humidity requirements.
02 / The Fitting Sequence
Prepare the T4 panel, bond and let it cure
The original T4 method works the outer panel back behind the inner lip to conceal the cut edge and help the glass sit within the aperture. Confirm that this method suits your chosen window before starting.
-
Step 1: Separate the inner and outer panels
From inside the van, identify the adhesive or seam sealer joining the inner lip to the outer panel. Carefully remove it so the outer panel can be worked back inside the lip. The original fitting method uses an air tool; work gently and avoid distorting the inner lip.
Remember: Stop if you cannot separate the panels without damaging the surrounding metalwork.
-
Step 2: Mark the opening before cutting
The original T4 method uses 3mm pilot holes drilled from inside to transfer the inner-lip position to the outer panel. Mark the cutting line on the outside, then check it against the window and the panel arrangement before making the opening.
Remember: Check behind the panel before drilling. The illustration is a guide to the panel relationship, not a cutting template.
-
Step 3: Cut the outer panel carefully
Make a suitable starter hole for the cutting tool. The original instructions use an air nibbler, with a metal-cutting jigsaw as an alternative. The aim is to leave the outer panel slightly larger than the inner lip, retaining material so the two skins can be joined again.
Remember: Do not remove more material than necessary. Confirm the cut line before proceeding.
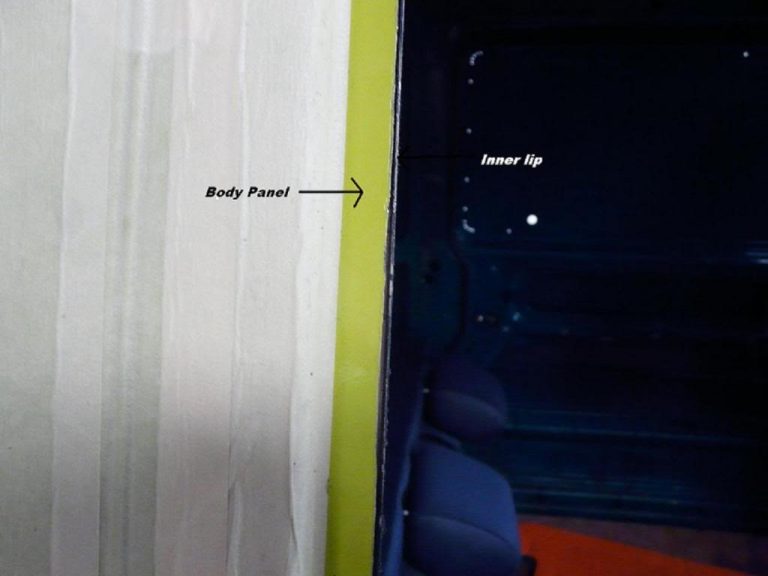
Original T4 panel reference. Retain material to rejoin the skins; this is not a cutting template. -
Step 4: Clean and dress the panel edges
Remove remaining adhesive or seam sealer between the skins. Dress the outer metalwork back carefully while supporting the inner lip and protecting its paintwork. The original method uses a dressing tool, or a supported timber block and clamps, to prevent the lip moving as the outer panel is formed.
Remember: If the panel will not sit correctly, seek fitting advice before bonding.
-
Step 5: Rejoin the two skins
The original guide describes rejoining the skins before fitting the glass. For an adhesive-based method, confirm that the specified product is suitable for joining these panels, then apply and clamp it according to its instructions. Welding is a separate specialist operation and should be left to a suitably qualified technician.
Remember: Follow the product-specific curing conditions. Do not assume that a fixed number of hours or extra heat will make the joint ready.
-
Step 6: Prepare the aperture and fit the window seal
Remove loose or rough paint and prepare the bonding area using the cleaning, corrosion-protection and primer system specified for your fitting products. Fit the supplied window seal in the correct orientation. In the original T4 instructions, its lip faces the inside of the glass and the join sits at the bottom.
Remember: Check the instructions supplied with your particular glass and seal before fitting.
-
Step 7: Prime the specified bonding surfaces
Prepare the body bonding area and the glass bonding band using the products specified by your adhesive system. Follow its surface-preparation sequence and allow the stated drying or flash-off time before applying adhesive.
Remember: Do not assume body primer, glass primer and cleaner are interchangeable.
-
Step 8: Apply adhesive and position the glass
Use the specified applicator and bead profile to create a continuous bond around the aperture. The original method starts at the bottom and works around the opening in one continuous pass. Position the glass carefully, check the seal and alignment, and support it as directed by the fitting-product instructions.
Remember: Avoid gaps in the bead and excessive squeeze-out. Do not use clamping force that could damage the glass or distort the panel.
-
Step 9: Allow the installation to cure
Keep the glass supported for the period specified by the adhesive manufacturer. Check its temperature, humidity and safe-use requirements before moving or using the van. Once the installation is ready, check the finish and seal in accordance with the fitting instructions.
Remember: The original guide’s one-hour clamping suggestion is not a universal curing or safe-drive-away time.
03 / Passenger-Side Sliding Door
Check the sliding-door opening separately
The passenger-side sliding door follows the same preparation and bonding sequence, but the original T4 guide notes a slightly larger inner lip. Do not copy the driver-side cutting line.
-
Step 1: Transfer the door opening carefully
Check the glass, seal and door aperture together. Additional pilot holes may help transfer the inner-lip position to the outside before cutting. Confirm the cut line and retain enough panel material to rejoin the skins.
-
Step 2: Check the finish and door operation
Follow the fitting-product instructions for bonding, support and curing. Confirm the final fit, seal and door operation with your installer before using the van.